Build a Server to use with Chef Server or Hosted Chef
Install Chef on your workstation
1. Install Chef client on your workstation so you can interact with Chef Server or Hosted Server:Follow Install Chef 11.x on a Workstation.
NOTE: EC2Dream has a sample chef repository in the EC2Dream Home directory at chef/chef-repo.
2. Upload the base and apache2 cookbook from the Chef Repository to Hosted Chef or your Chef Server.
cd to the top level of the chef-repo and enter:
knife upload cookbooks
3. Create a roles base and app for the apache2 cookbook
knife role create base
In the $EDITOR enter the role data in JSON:
{
"name": "base",
"chef_type": "role",
"json_class": "Chef::Role",
"run_list": [
"recipe[base]"
]
}
knife role create app
In the $EDITOR enter the role data in JSON:
{
"name": "app",
"chef_type": "role",
"json_class": "Chef::Role",
"run_list": [
"recipe[apache2]"
]
}
When finished, save it.
Build a Base Server for Hosted Chef or Chef Server
We just need to build s Server with a Chef Client installed and configured to connect to Hosted Chef or Chef Server1. Launch a new base server.
2. Use knife bootstrap command. Follow Bootstrap a Node
knife bootstrap 10.0.10.245
--ssh-user ubuntu
--sudo
--identity-file C:\key\test.pem
--node-name base
--run-list 'role[base]'
or use a shell script like https://github.com/solarce/awsadvent2012/blob/master/chef-bootstrap.sh Also see Creating and bootstrapping EC2 instances in an Amazon VPC using Chef & Knife
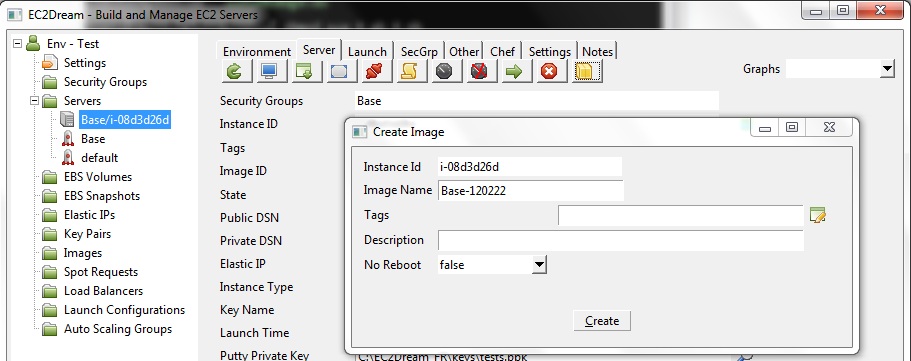
3. Create a Base Image
a. For EBS Images create an Image by pressing on the Create Image button
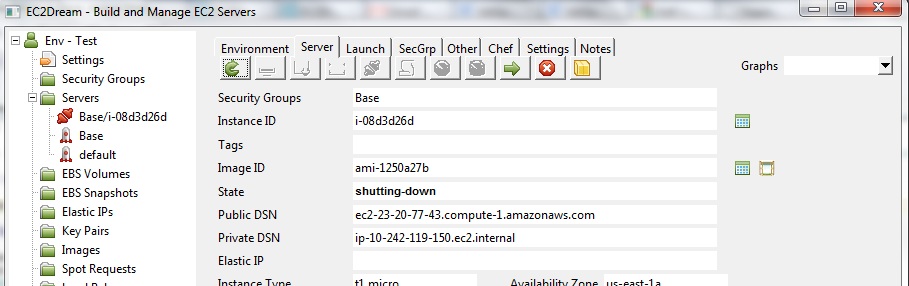
4. Shutdown the server by pressing the Terminate button
and update the base launch profile with the new image.
Run the application
1. Create or update the launch profile for App with an Image id for the Base Image created earlier and specify in the user data:
    #!/bin/bash

    sudo chef-client -c /etc/chef/config.rb -N app -l debug > /home/ubuntu/startup.log && echo "Server ready." | wall
2. Launch the server and the apache2 application will install at startup
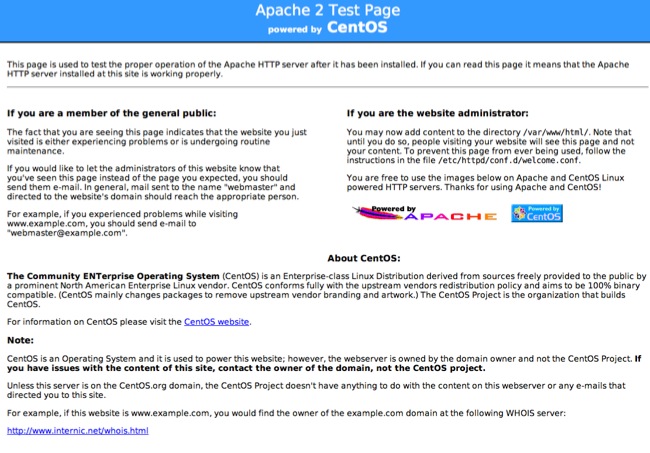
3. Check apache is running by going to a browser and run http://ec2-99-99-999-999.compute-1.amazonaws.com using the Public DSN from the server panel
For ubuntu servers you will see an initial server like:

and for Centos: