Run a Server Instance
Setting up a Security Group
Every launched instance requires that you have a security group defined to specify what network traffic is allowed to reach the instance. By default no traffic is enabled.We will create a new group called Base. You might like to call the group another name that identifies your application.
NOTE: Skip this step as Rackspace currently does not support security groups.
1. In the tree view click on Security Groups in the left hand tree and click on the New button
2. Create a Security Group called Base and check the windows server option if creating a windows server.
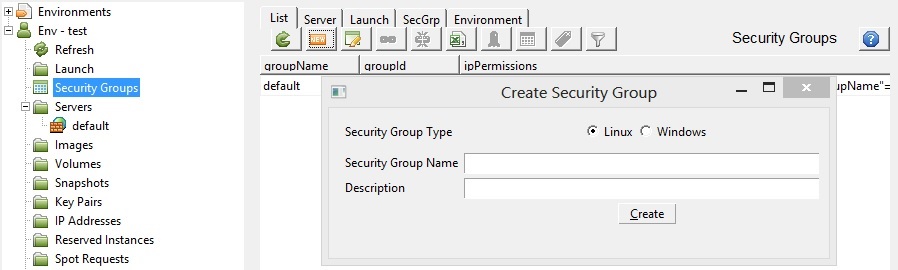
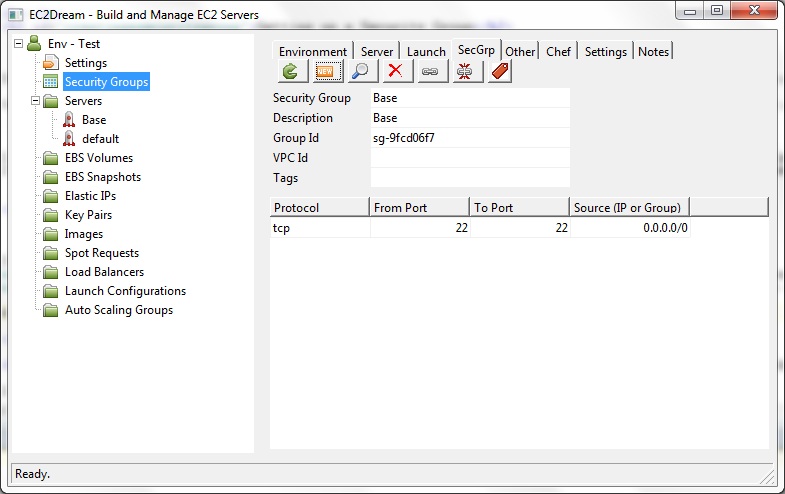
3. Press "Create" and the security group is created.
For a linux server it will allow incoming traffic from all IP address to connect to any launched instances on SSH port (22).
For a windows server it will allow incoming traffic from all IP address to connect to any launched instances on RDP port (3389).
4. You will see a new reference to Base in the Servers in the left-hand tree panel.
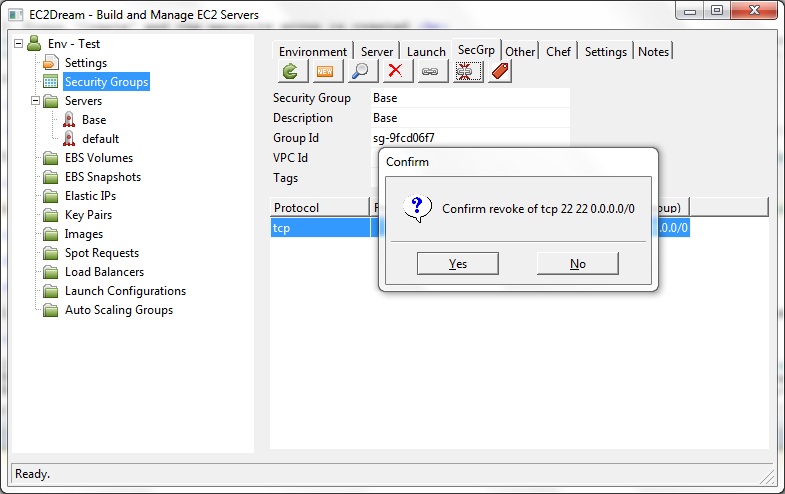
NOTE: To add extra ports or to tighten security for the SSH port to just your client IP Address.
5. Authorizations are created by clicking on the
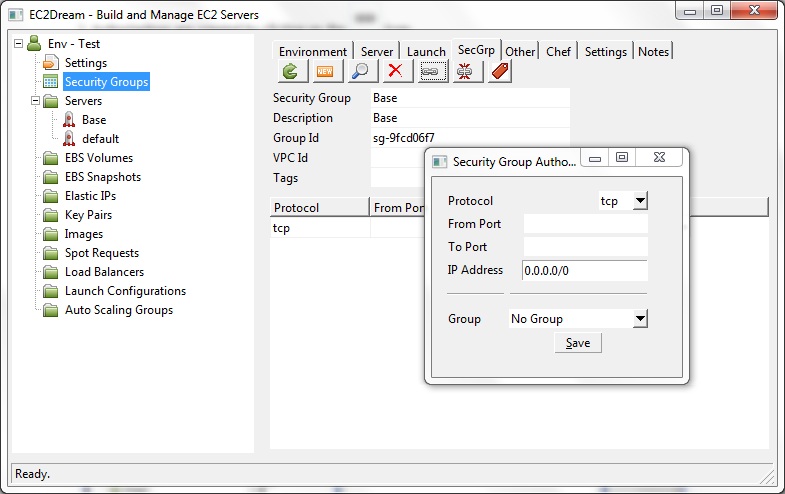
6. Authorizations are revoked by clicking on the
Launching an Instance
1. In the tree view click on Launch and the launch profile tab will open.Rackspace
Use the default simulated security group.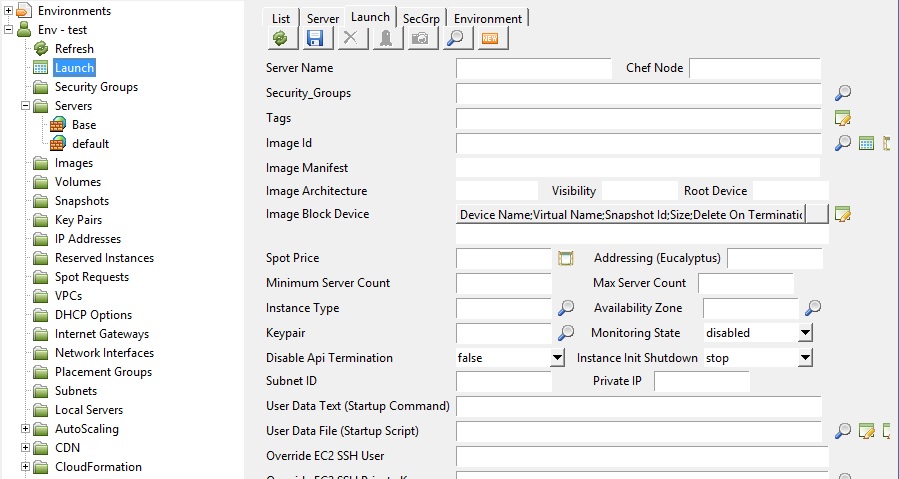
2. Select the Image ID by clicking on the icon
Amazon
The the following images are recommended.For Ubuntu view the alestic images on http://alestic.com and select the latest ubuntu base image for your EC2 region.
For CentOS view the Public images with right in the description and select the latest rightscale image e.g. 944964708905/rightimage_centos_6.2_i386_20120618
For Windows view the Amazon images with windows in the description and select the latest Windows 2008 Server image e.g. amazon/Windows_Server-2003-R2_SP2-English-64Bit-Base-2012.05.10
Other clouds
Use the default linux or windows images.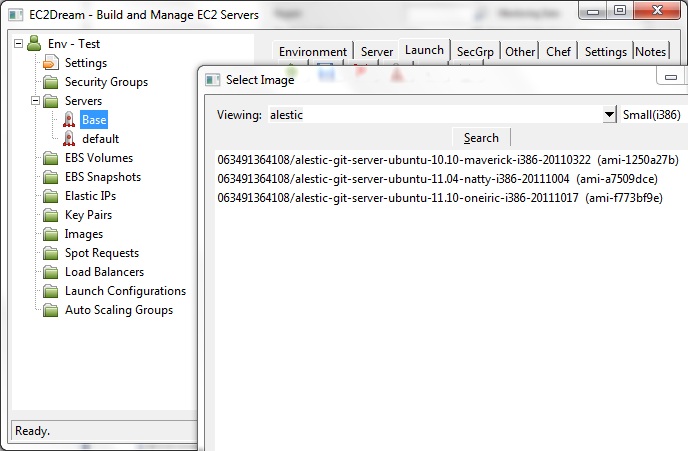
3. Select a keypair by clicking on the icon
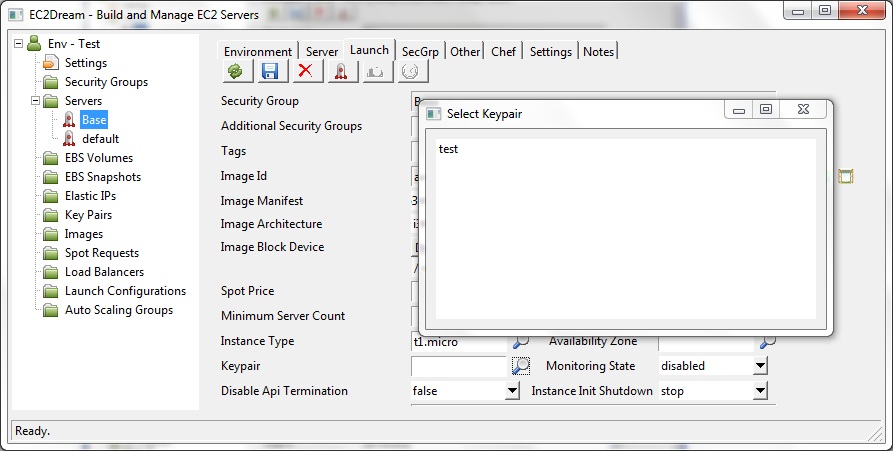
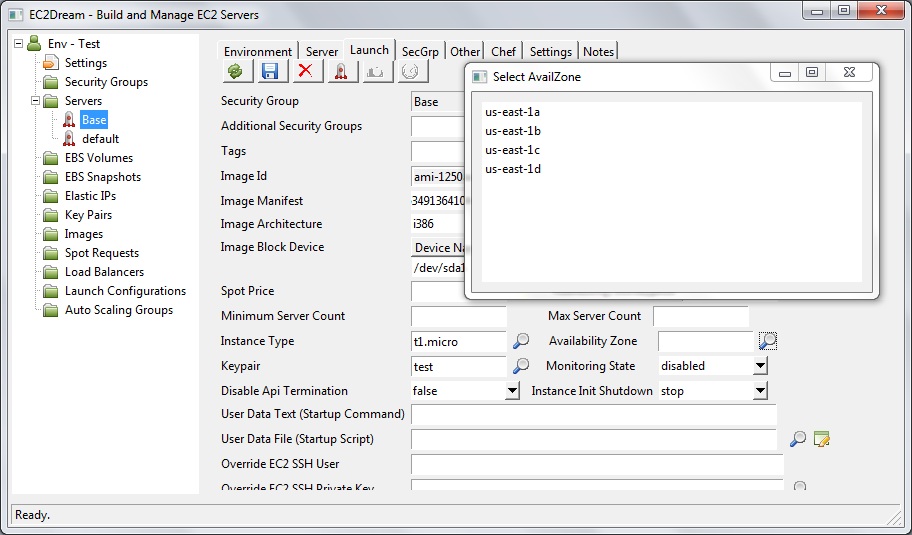
4. Select an Availability Zone
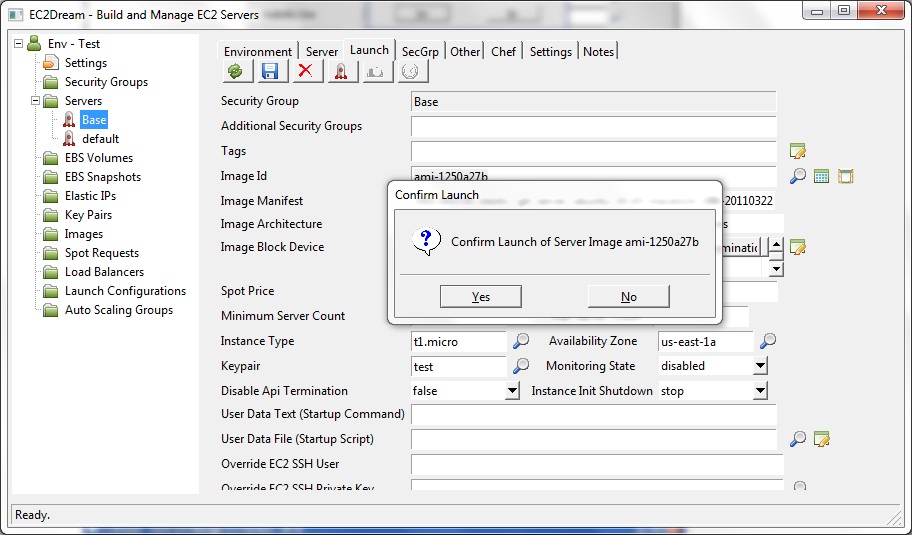
5. Press the Launch icon
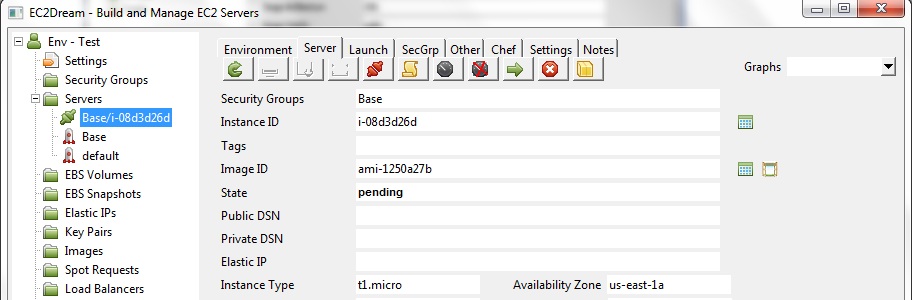
If you refresh the server tree by pressing refresh icon
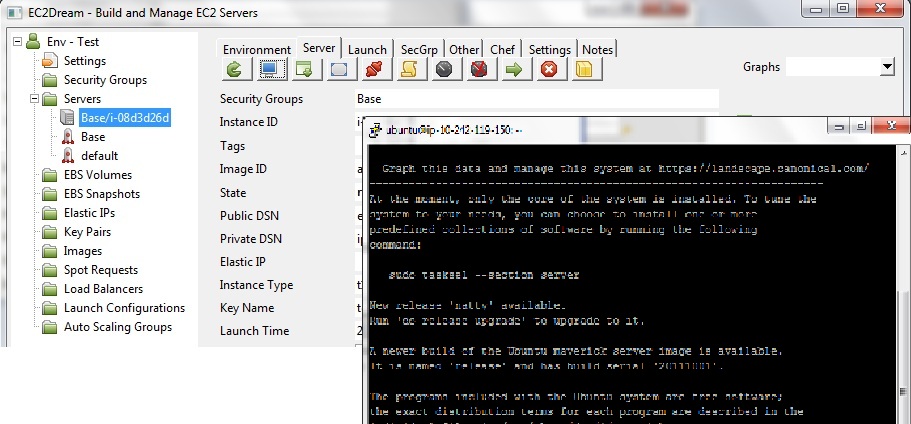
Connecting to the Linux Instance
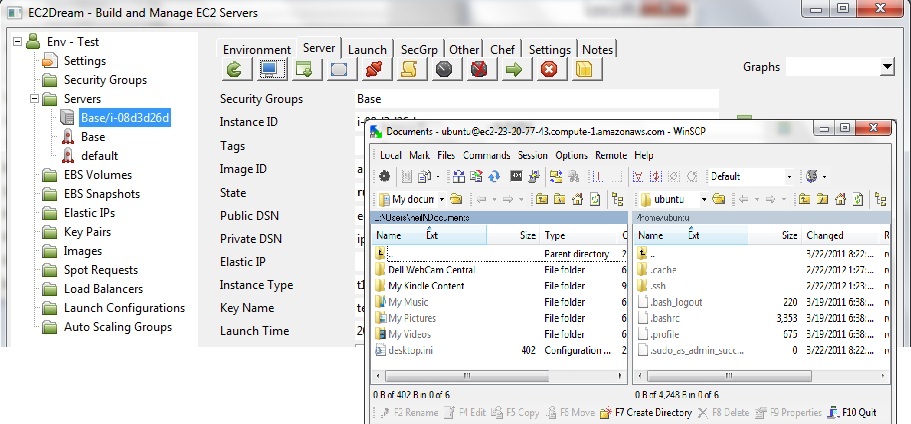
If using linux in the server panel update the EC2 SSH User to ubuntu as the root user is protected from logon.In the Server panel click on the terminal icon
Click on the WinSCP icom
Connecting to the Windows 2008 Server Instance
Amazon
If using windows server in the server panel click on the key icon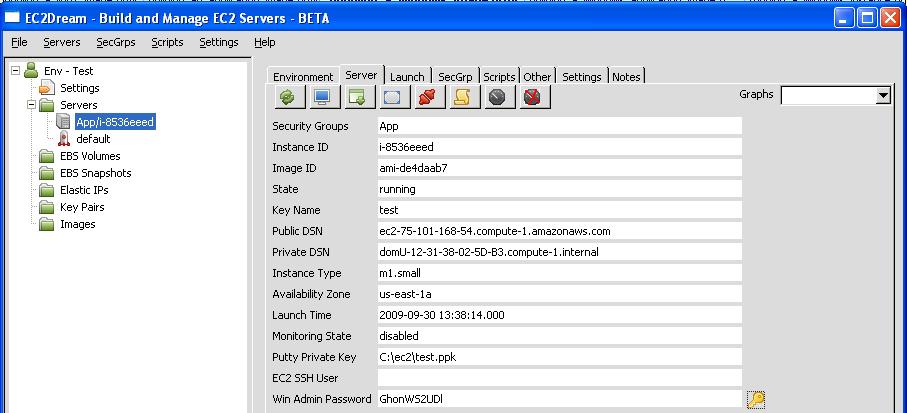
All Clouds
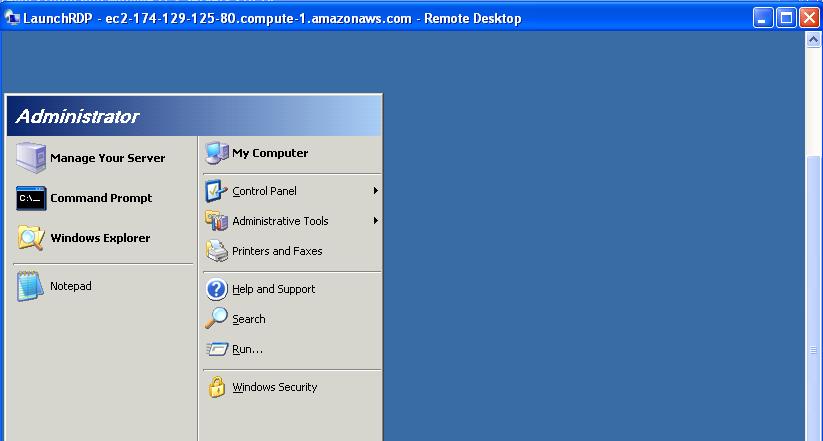
Click on the Remote Desktop iconNOTE: The Win Admin Password field contains the password
Optionally Create a separate Volume
To create a new Volume, called in Amazon Elastic Block Storage (EBS), perform the following steps:1. Click on the "Volumes" in the tree view.

2. Create a Volume by clicking on the new icon
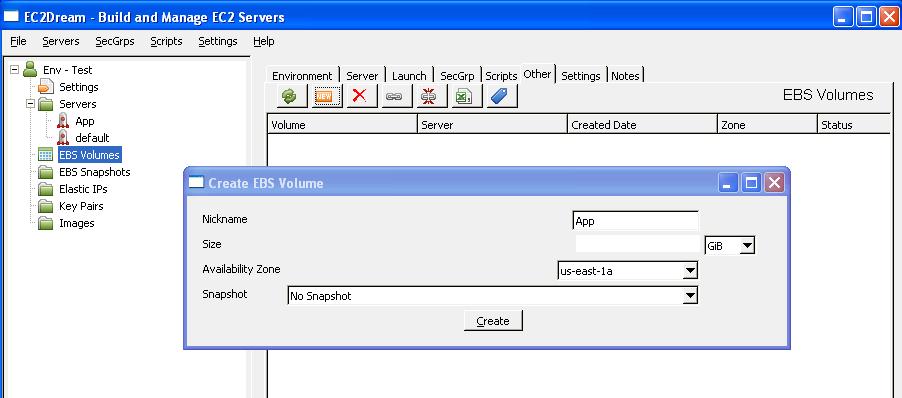
-Give the volume a nickname i.e. App.
-Type in the size in gigabytes (GB) of the volume you would like between 1 and 1000. I would recommend 10GB.
-Specify the availability zone and "no snapshot".
NOTE: A volume must be in the same availability zone as an instance. You can optionally specify an Availability Zone if desired or the snapshot id to create a volume from.
3. Click the "Create" button, and your volume will be created.
NOTE: If you accidentally create a volume in the wrong zone, you can either create a new blank volume in the proper zone, or create a new volume based on a snapshot of a volume in another zone.
4. If a server instance is already running it can be attached dynamically to the instance by pressing the attach button
5. It can also be attached, mounted and initialised by the cloud_init.rb script at startup by specifying parameters in the userdata
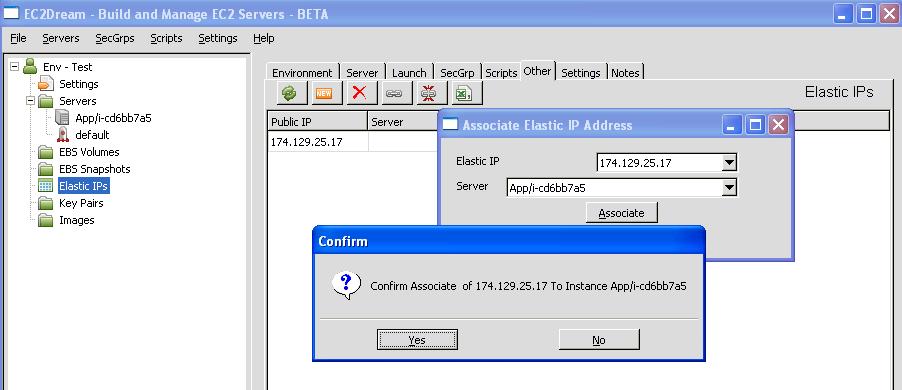
Optionally create a new Fixed IP
Some applications like (for example Magento) have the IP Address or URL is configured in the application so need a fixed IP Address.Also for production a Fixed IP is typically configured for outwardly facing parts.
1. Click on "IP Addresses" in the tree view and then click on the new icon
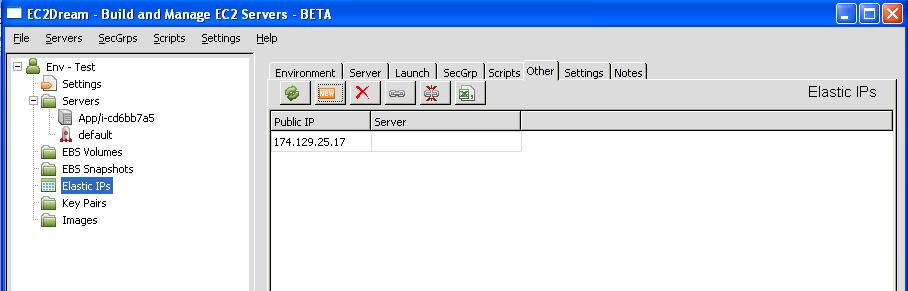
2. If you do have an instance running associate the IP with an instance by click on the link icon