Create an Environment
Core Concepts
Environment
This is the basic unit of administration in the EC2Dream. It identifies a particular cloud by access keys and URL or region. They are stored in a repository that is either local on your machine or another location that could be shared.Cloud Access Key and Secret Access Key
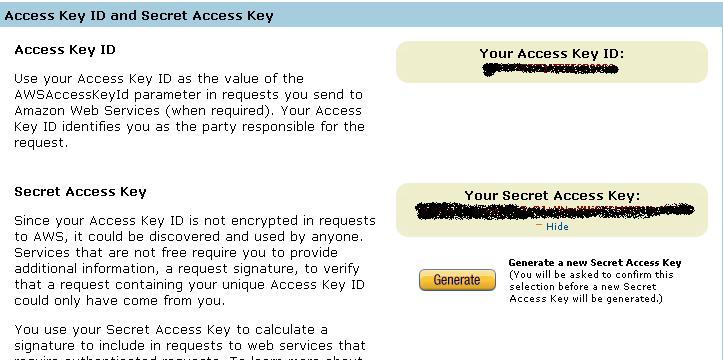
The Access Key and Secret Access Key identify yourself when making requests to Cloud API. EC2Dream internally communicates with the Cloud API using the fog cloud services library to perform system admin tasks. You should never give out these keys to anyone.Amazon Public and Private Key
Amazon also provides a second pair or credentials an X.509 Certificate consisting of a Public Key and Private Key. Typically these are used by Amazon EC2 command tools but not by fog or EC2Dream. See http://alestic.com/2009/11/ec2-credentials for an explaination of credentials.Keypair
This is a key to connect to your server running in some Clouds via SSH instead of the more insecure user and password. This is not to be confused with Amazon's X.509 Public and Private keys.Creating an Environment
1. Run EC2Dream in a command prompt.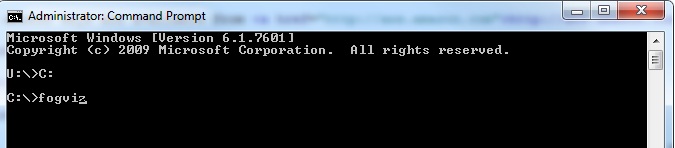
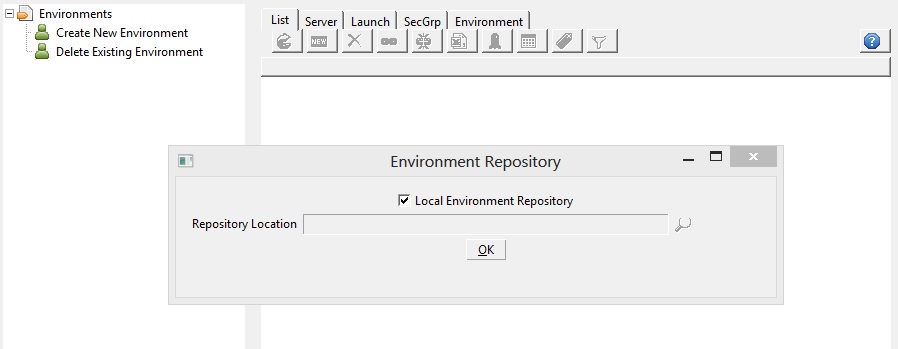
The very first time EC2Dream is run it prompts for the location of the repository. Take the default local repository.
Then an initial screen is displayed:
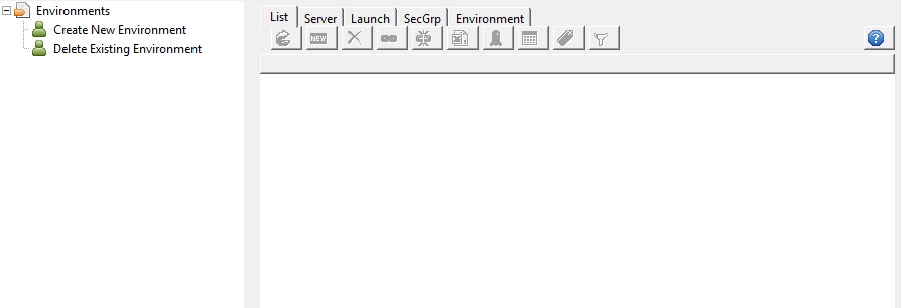
2. Click in the tree
Amazon
Enter the access keys, and change the Region if your environment is not the default US.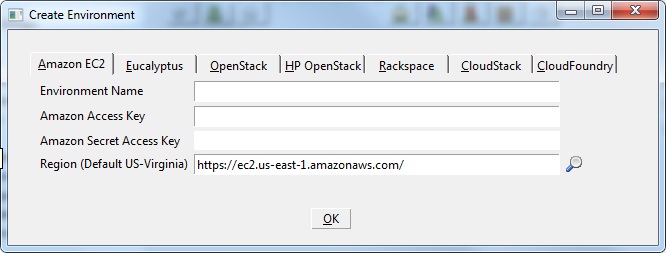
NOTE: The access keys are available from http://aws.amazon.com under Your Account, Access Identifiers
Eucalyptus
Enter the downloaded eucalyptus certificate zip file.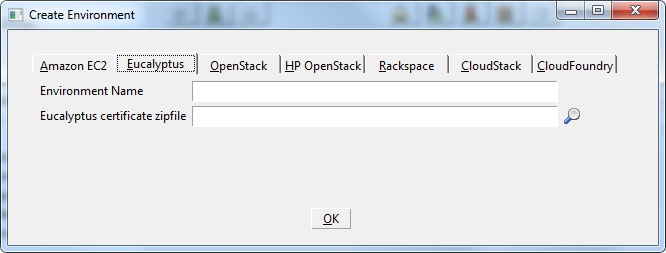
NOTE: The certificate zip file is available from the Eucalyptus console.
OpenStack
Enter the user and password , and the url. For trystack the url should be https://nova-api.trystack.org:5443.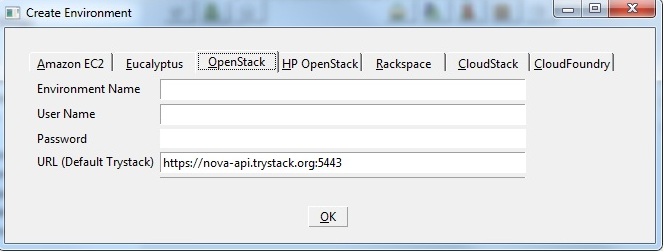
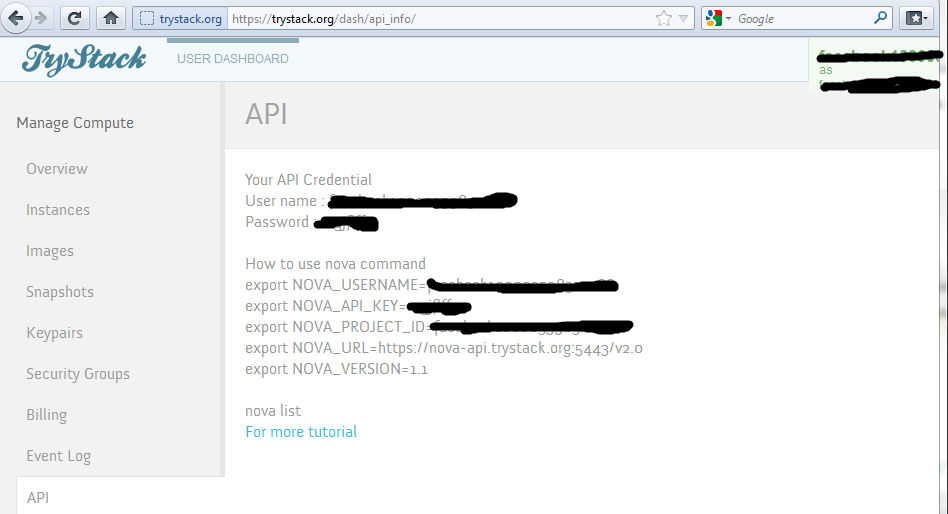
The credentials are under the API Option in the OpenStack console.
HP Cloud
Enter the user and password , and the url. For HP Cloud the url.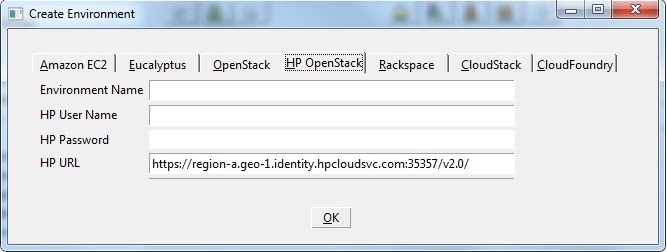
The credentials are under the API Option in the OpenStack console.

Rackspace
Enter the user and password , and the endpoint.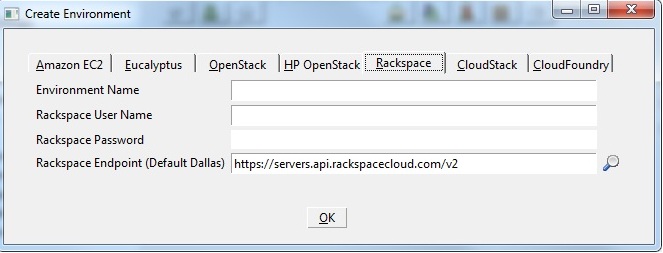 insert image
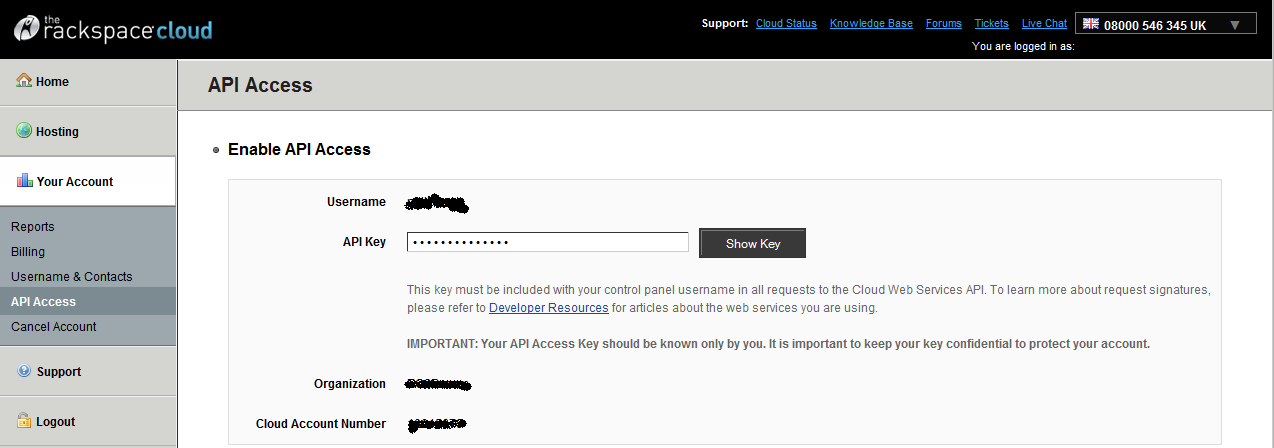
 The credentials are under the API Option in the Rackspace Cloud Control Panel.
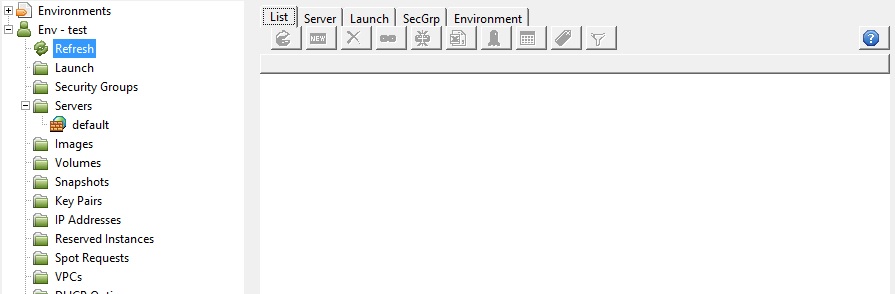
4. Press OK and the environment will be created. If you already have servers running or security groups defined you will see them in the tree view.
Creating a KeyPair
Rackspace
Ignore this as it currently doers not support SSH keys.An SSH keypair is used for several purposes including connecting to Linux instances.
To generate a keypair, simply perform the following steps:
1. Click on the "KeyPairs" in the tree view.
2. Create a keypair by clicking on the new icon
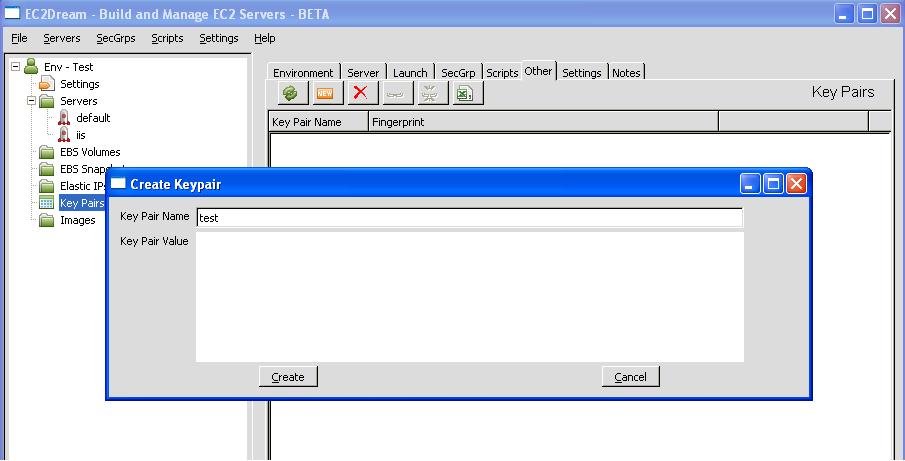
3. Type in a name for your KeyPair, and click the "Create" button.
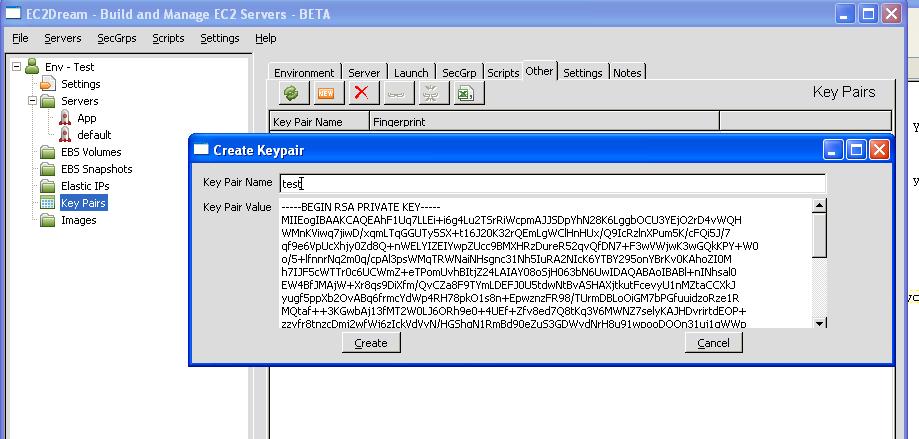
4. Copy the generated text including the -----BEGIN RSA PRIVATE KEY----- and -----END RSA PRIVATE KEY----- to a text file with a .pem suffix.
NOTE: For linux/Mac OSX clients remove permissions for all and group access
5. Make a backup copy of the file and store in a secure place as it cannot be repeatedly downloaded.
6. In the EC2Dream click on "Env - xxxxxxx" in the tree view and in the Environment tab set the EC2_SSH_PRIVATE_KEY to the file created and then press "Save Settings".
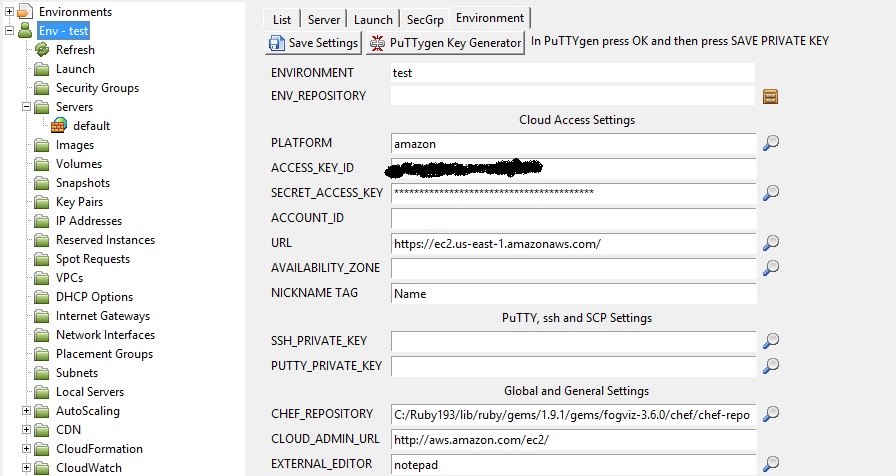
7. PuTTy is the Windows SSH client software used to connect to the linux servers. It has its own keypair file format that can be generated from the keypair. If you are running EC2Dream on windows client press the "PuTTYgen Key Generator" button, press OK on the following screen
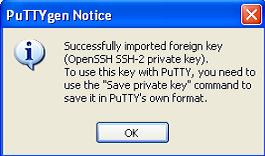
and you will see the following screen
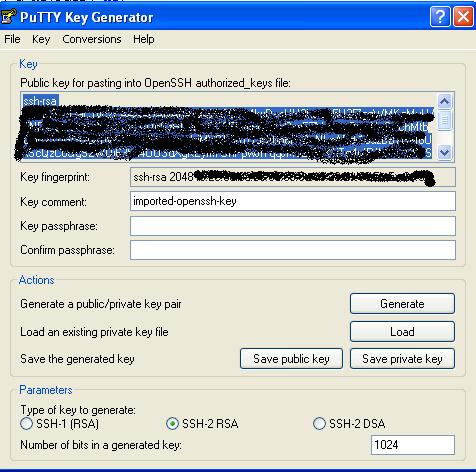
8. In PuTTYgen press "Save Private Key" and then exit.
9. In the Environment tab set the PUTTY_PRIVATE_KEY to the file saved.
10. Save the settings.